Getting started
Install Prayminder, allow notifications, add your first prayer and check that reminders are on.
This is the first ten minutes with Prayminder: getting the app on your phone, adding something to pray for, and making sure reminders will reach you.
Prayminder has no accounts and no sign-in. Your prayers are stored on your phone, and you can start straight away.
Where iPhone and Android differ, you will see two tabs. Pick yours once and the whole Help Center remembers it. Use the sidebar to find everything else, or the search box at the top of it.
Install Prayminder
Prayminder is free, on both iPhone and Android. Open the store from your phone and install it.

Set up Prayminder for the first time
Read the welcome screen
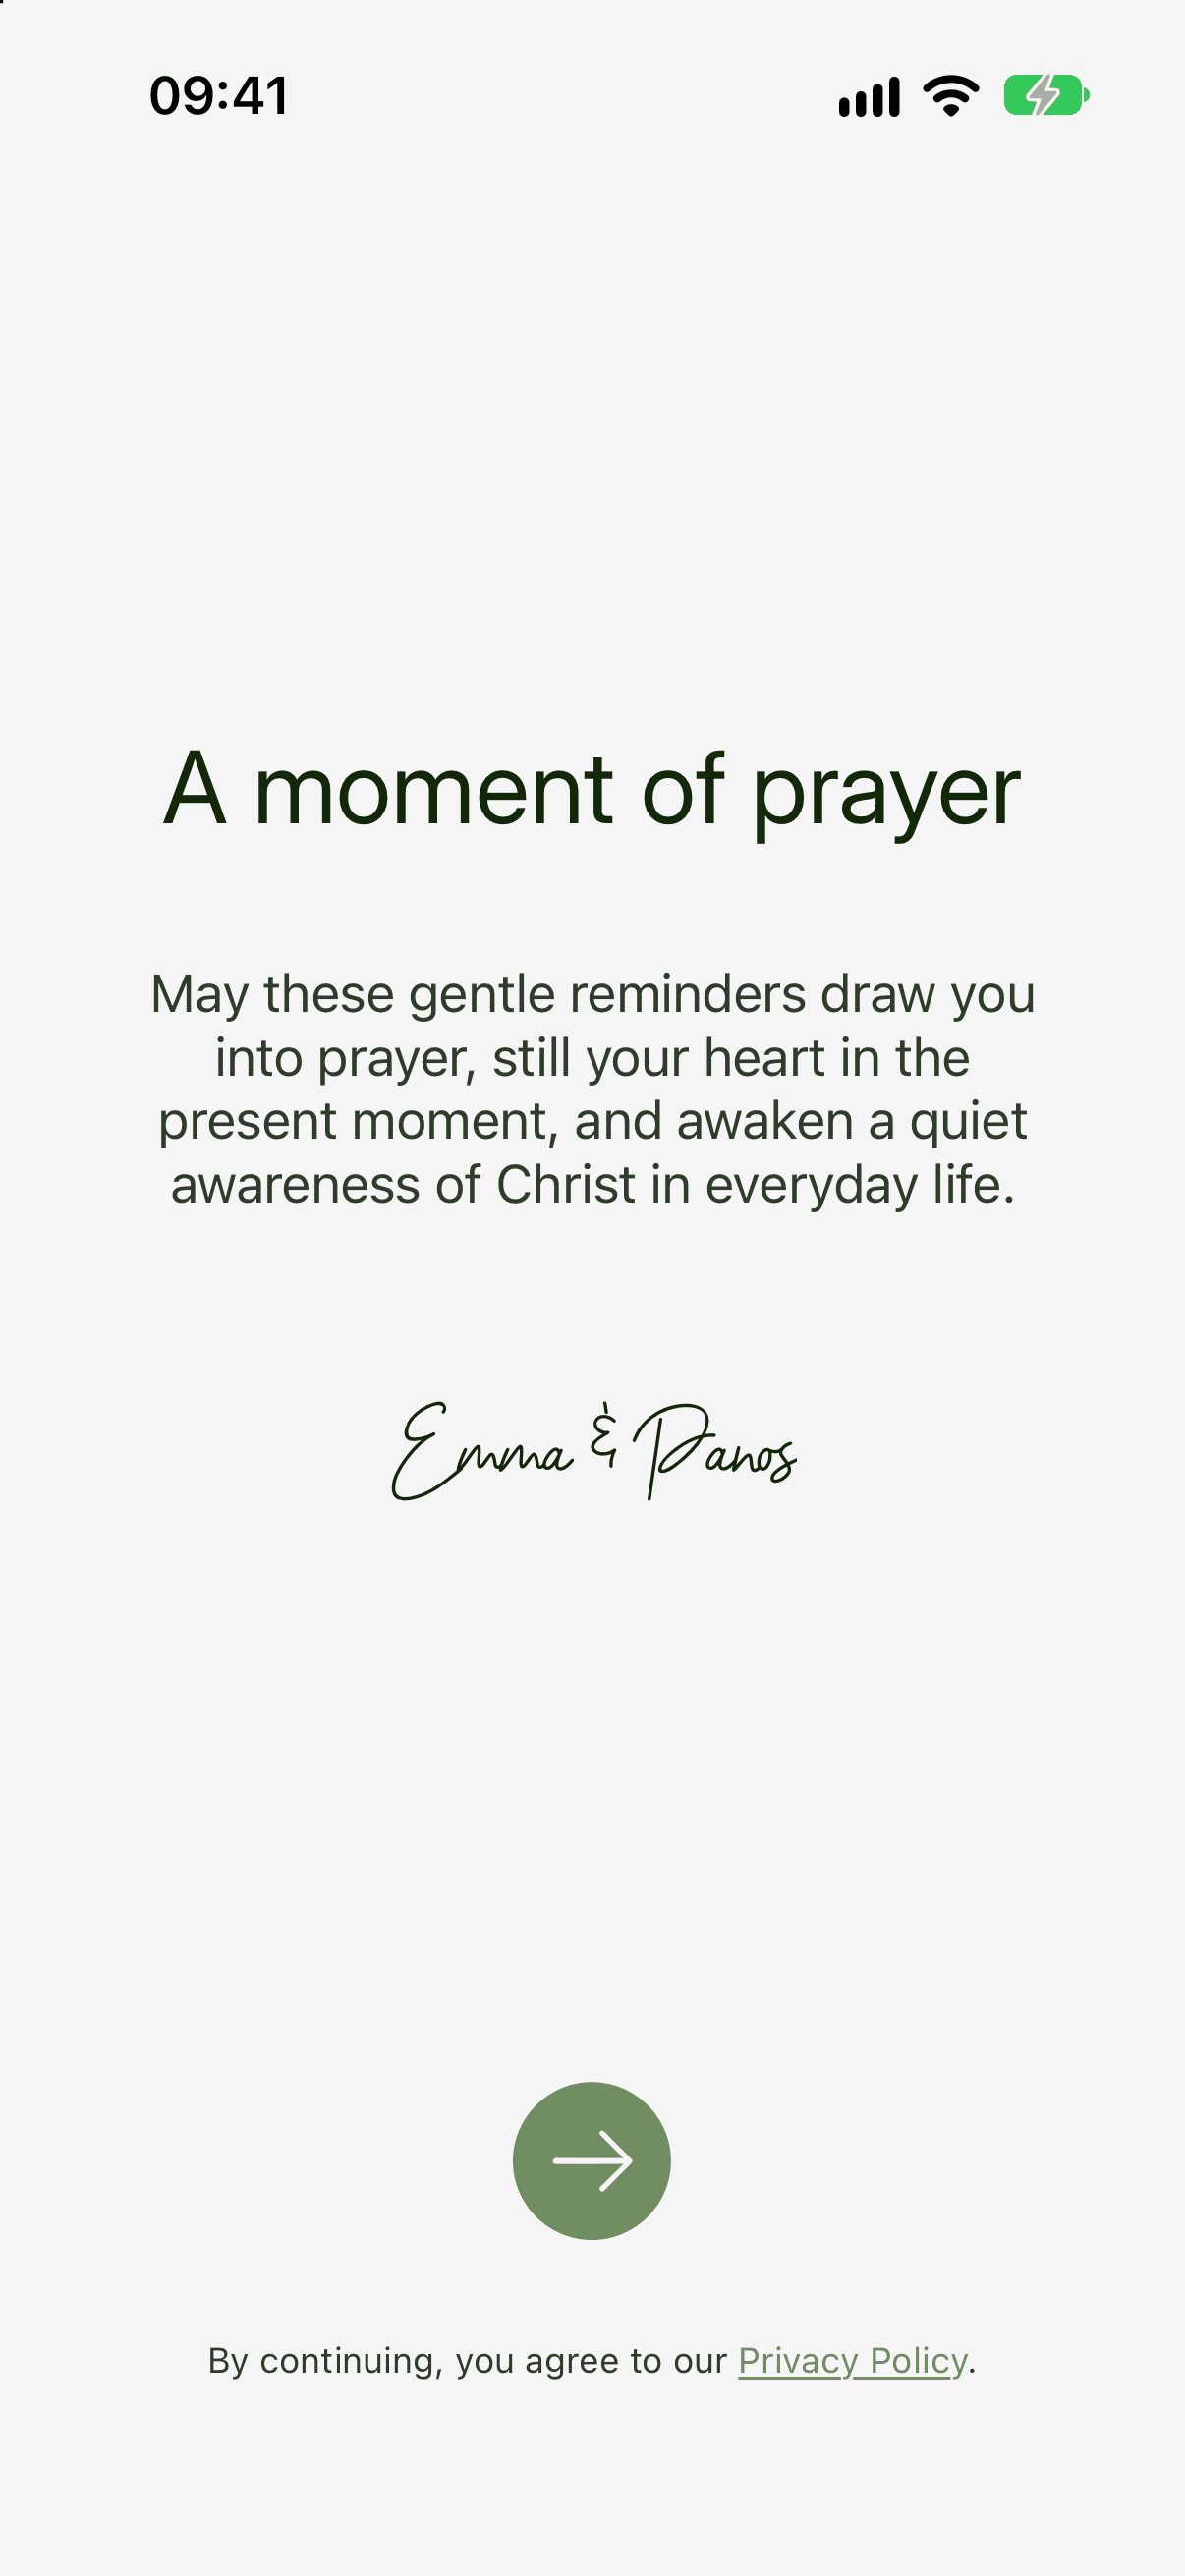
The first screen is a short welcome. Tap the arrow to continue.
Allow notifications
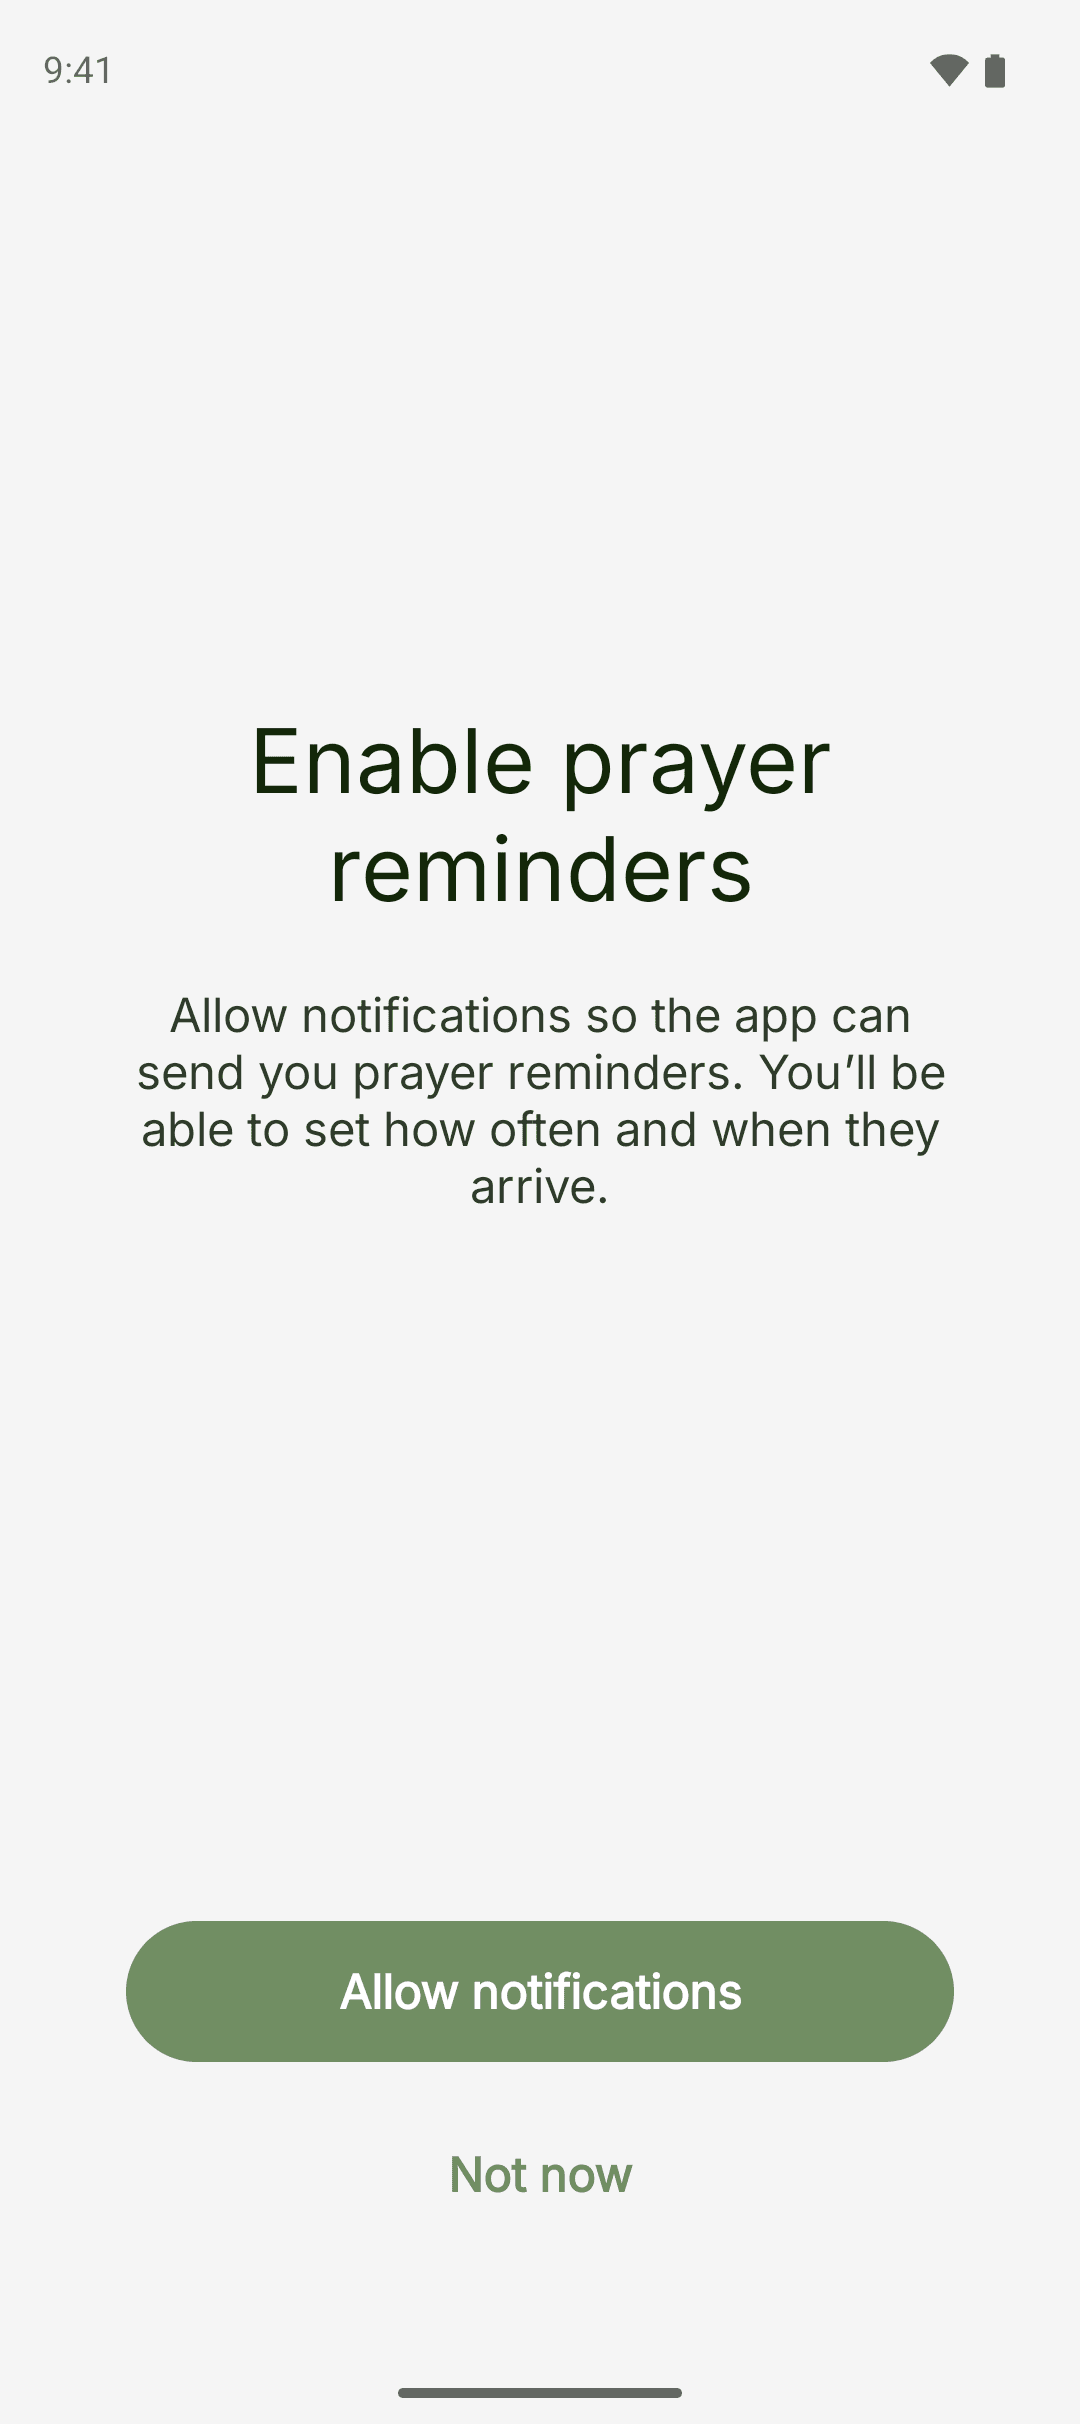
Prayminder asks to send you notifications; this is how reminders reach you. Tap Allow notifications, then accept your phone's prompt.
If you choose Not now, the app still works, but you will not get reminders until you allow notifications later. See Turn reminders on
Finish
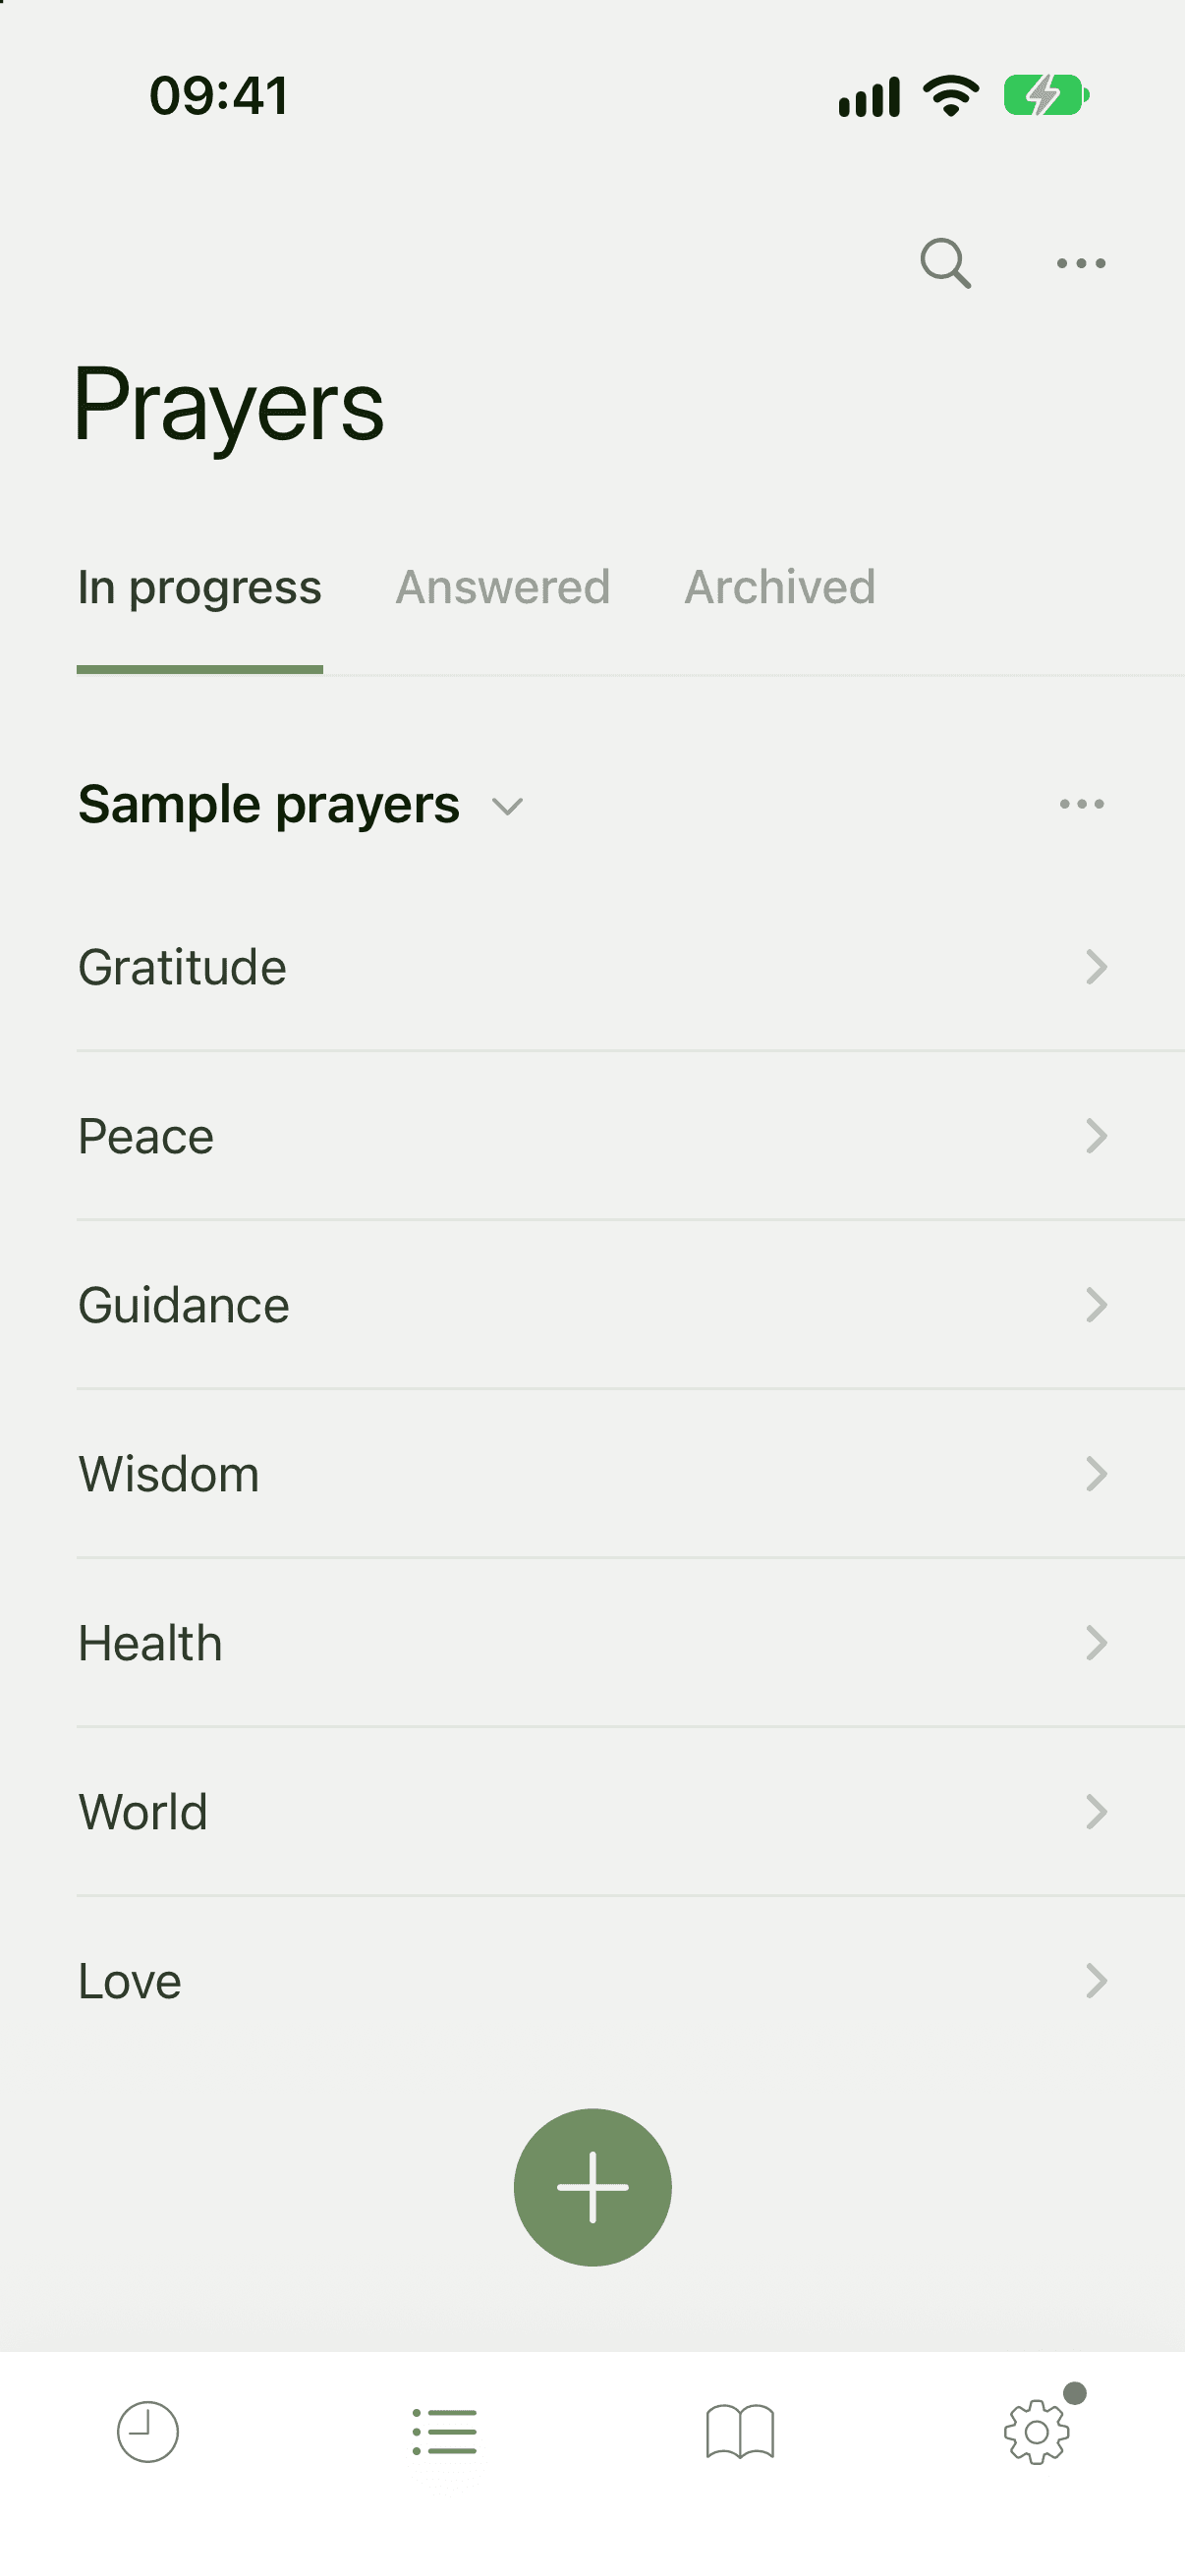
Tap Done. Prayminder opens with a few sample prayers already in your list so you can see how it looks. Keep them, edit them, or delete the group when you have added your own.
Add your first prayer
Open the Prayers tab
Tap the Prayers tab, then the round plus button at the bottom of the screen.
Give it a title
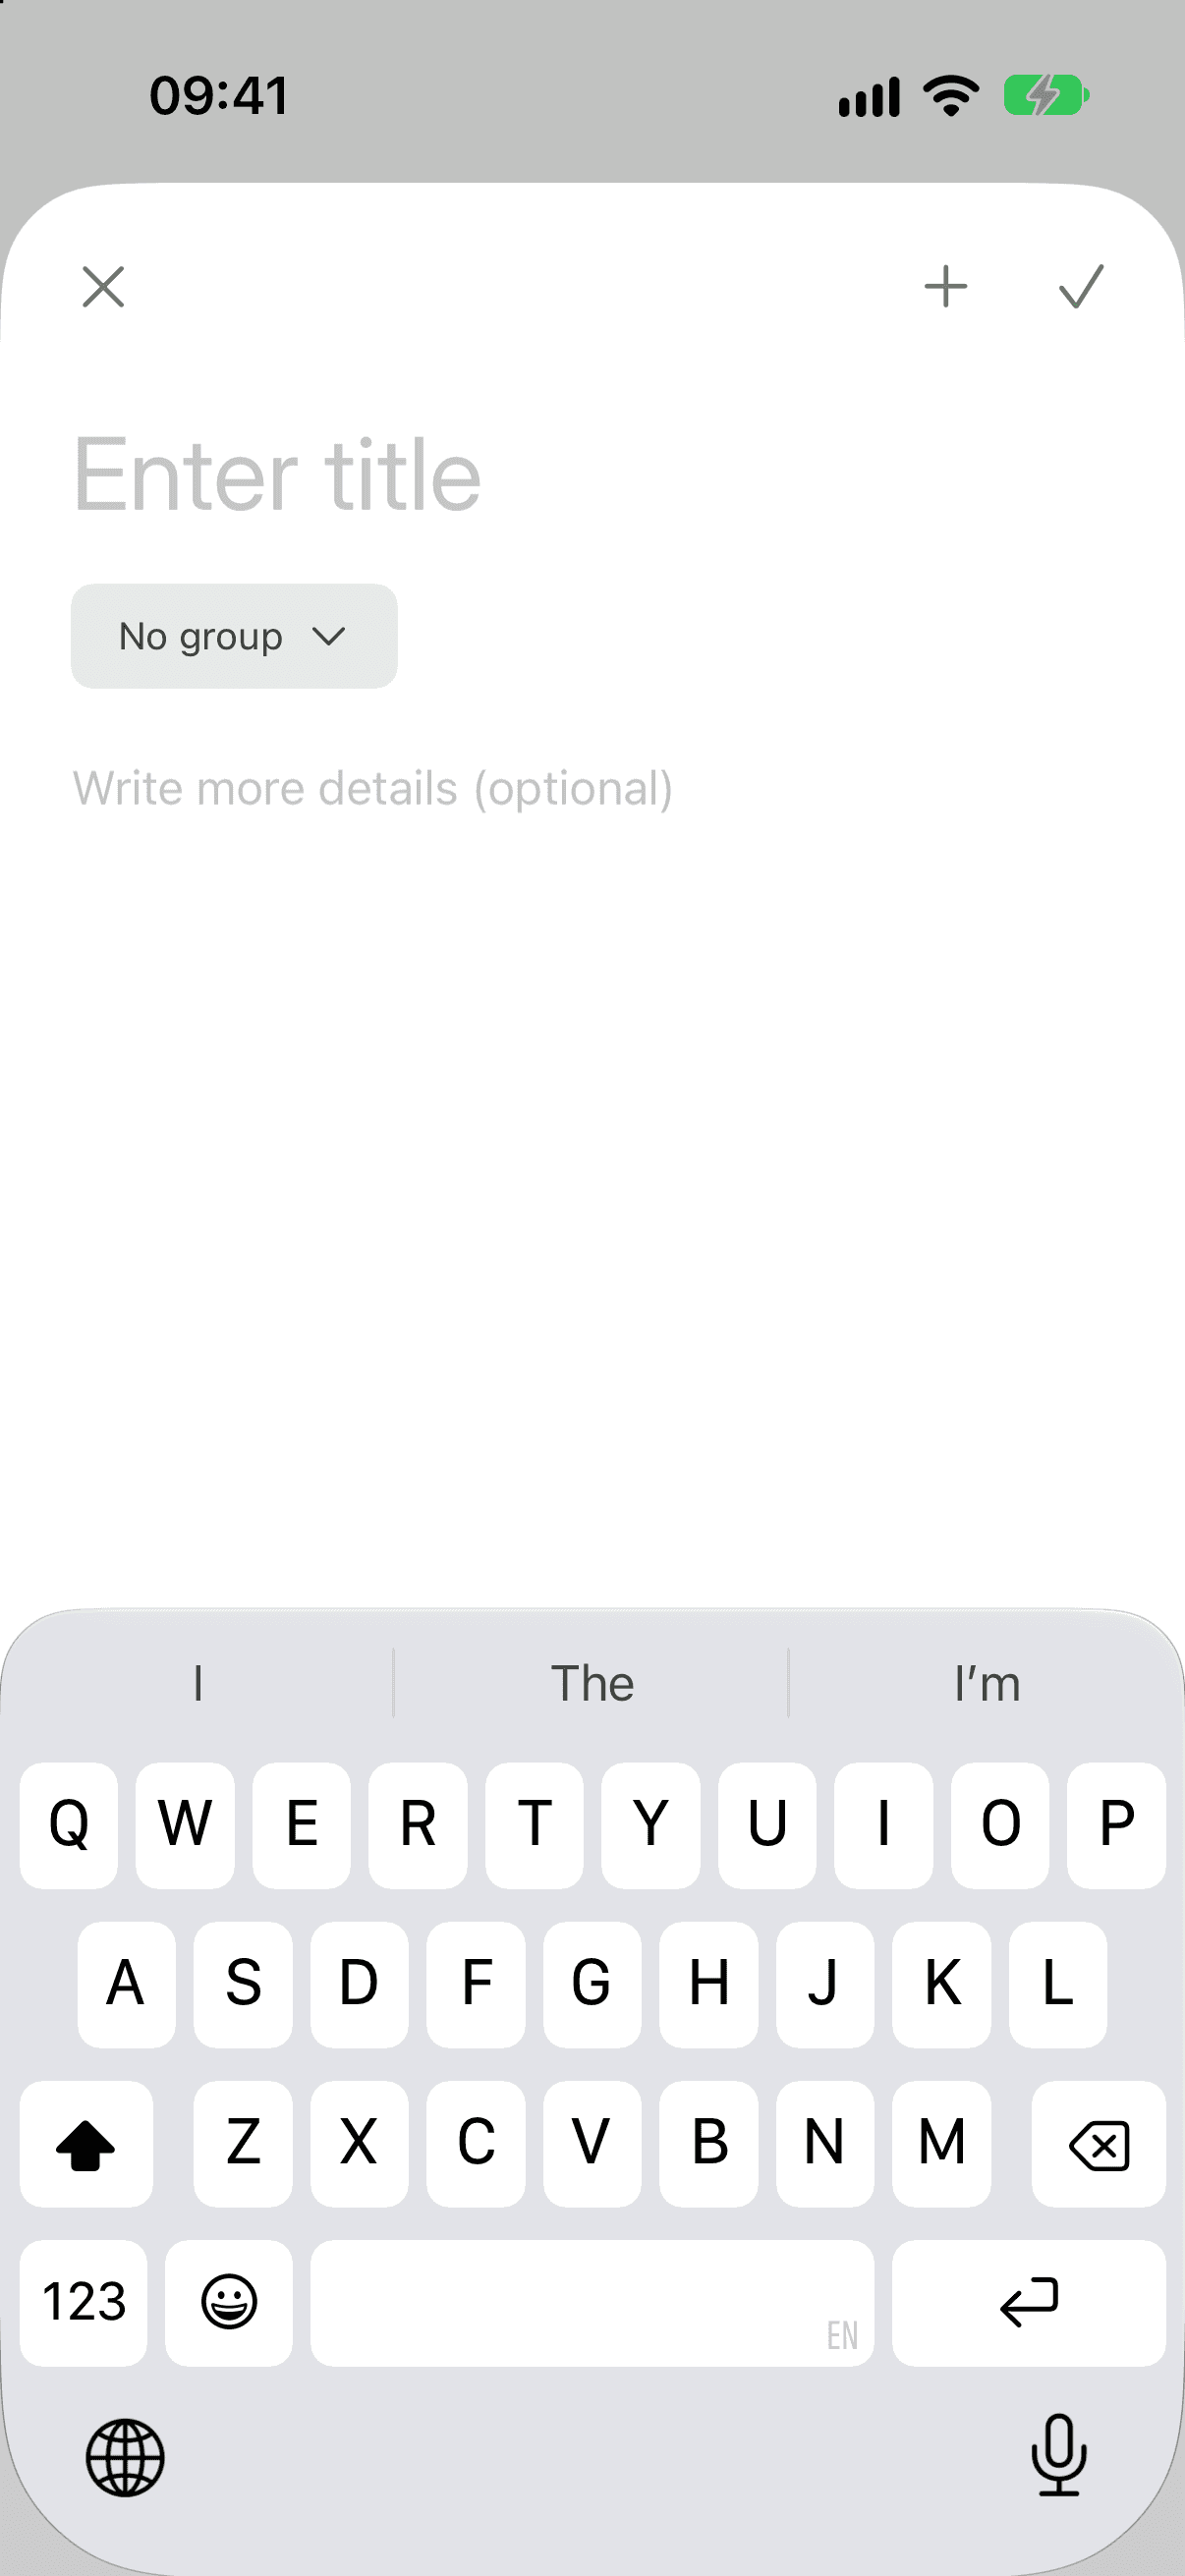
Type a short title where it says Enter title, for example a person's name or a situation. If you like, add a note under Write more details (optional).
Save
Tap the tick in the top corner. The prayer appears in your In progress list, and it is now part of the reminder rotation.
For groups, notes, and everything else you can do with a prayer, see Prayers and lists.
Check that reminders are on
Open the Reminders tab. The card at the top tells you where things stand: if it reads Reminders not enabled, reminders are off; otherwise you are set, and it will change to Time to pray when the first reminder arrives.
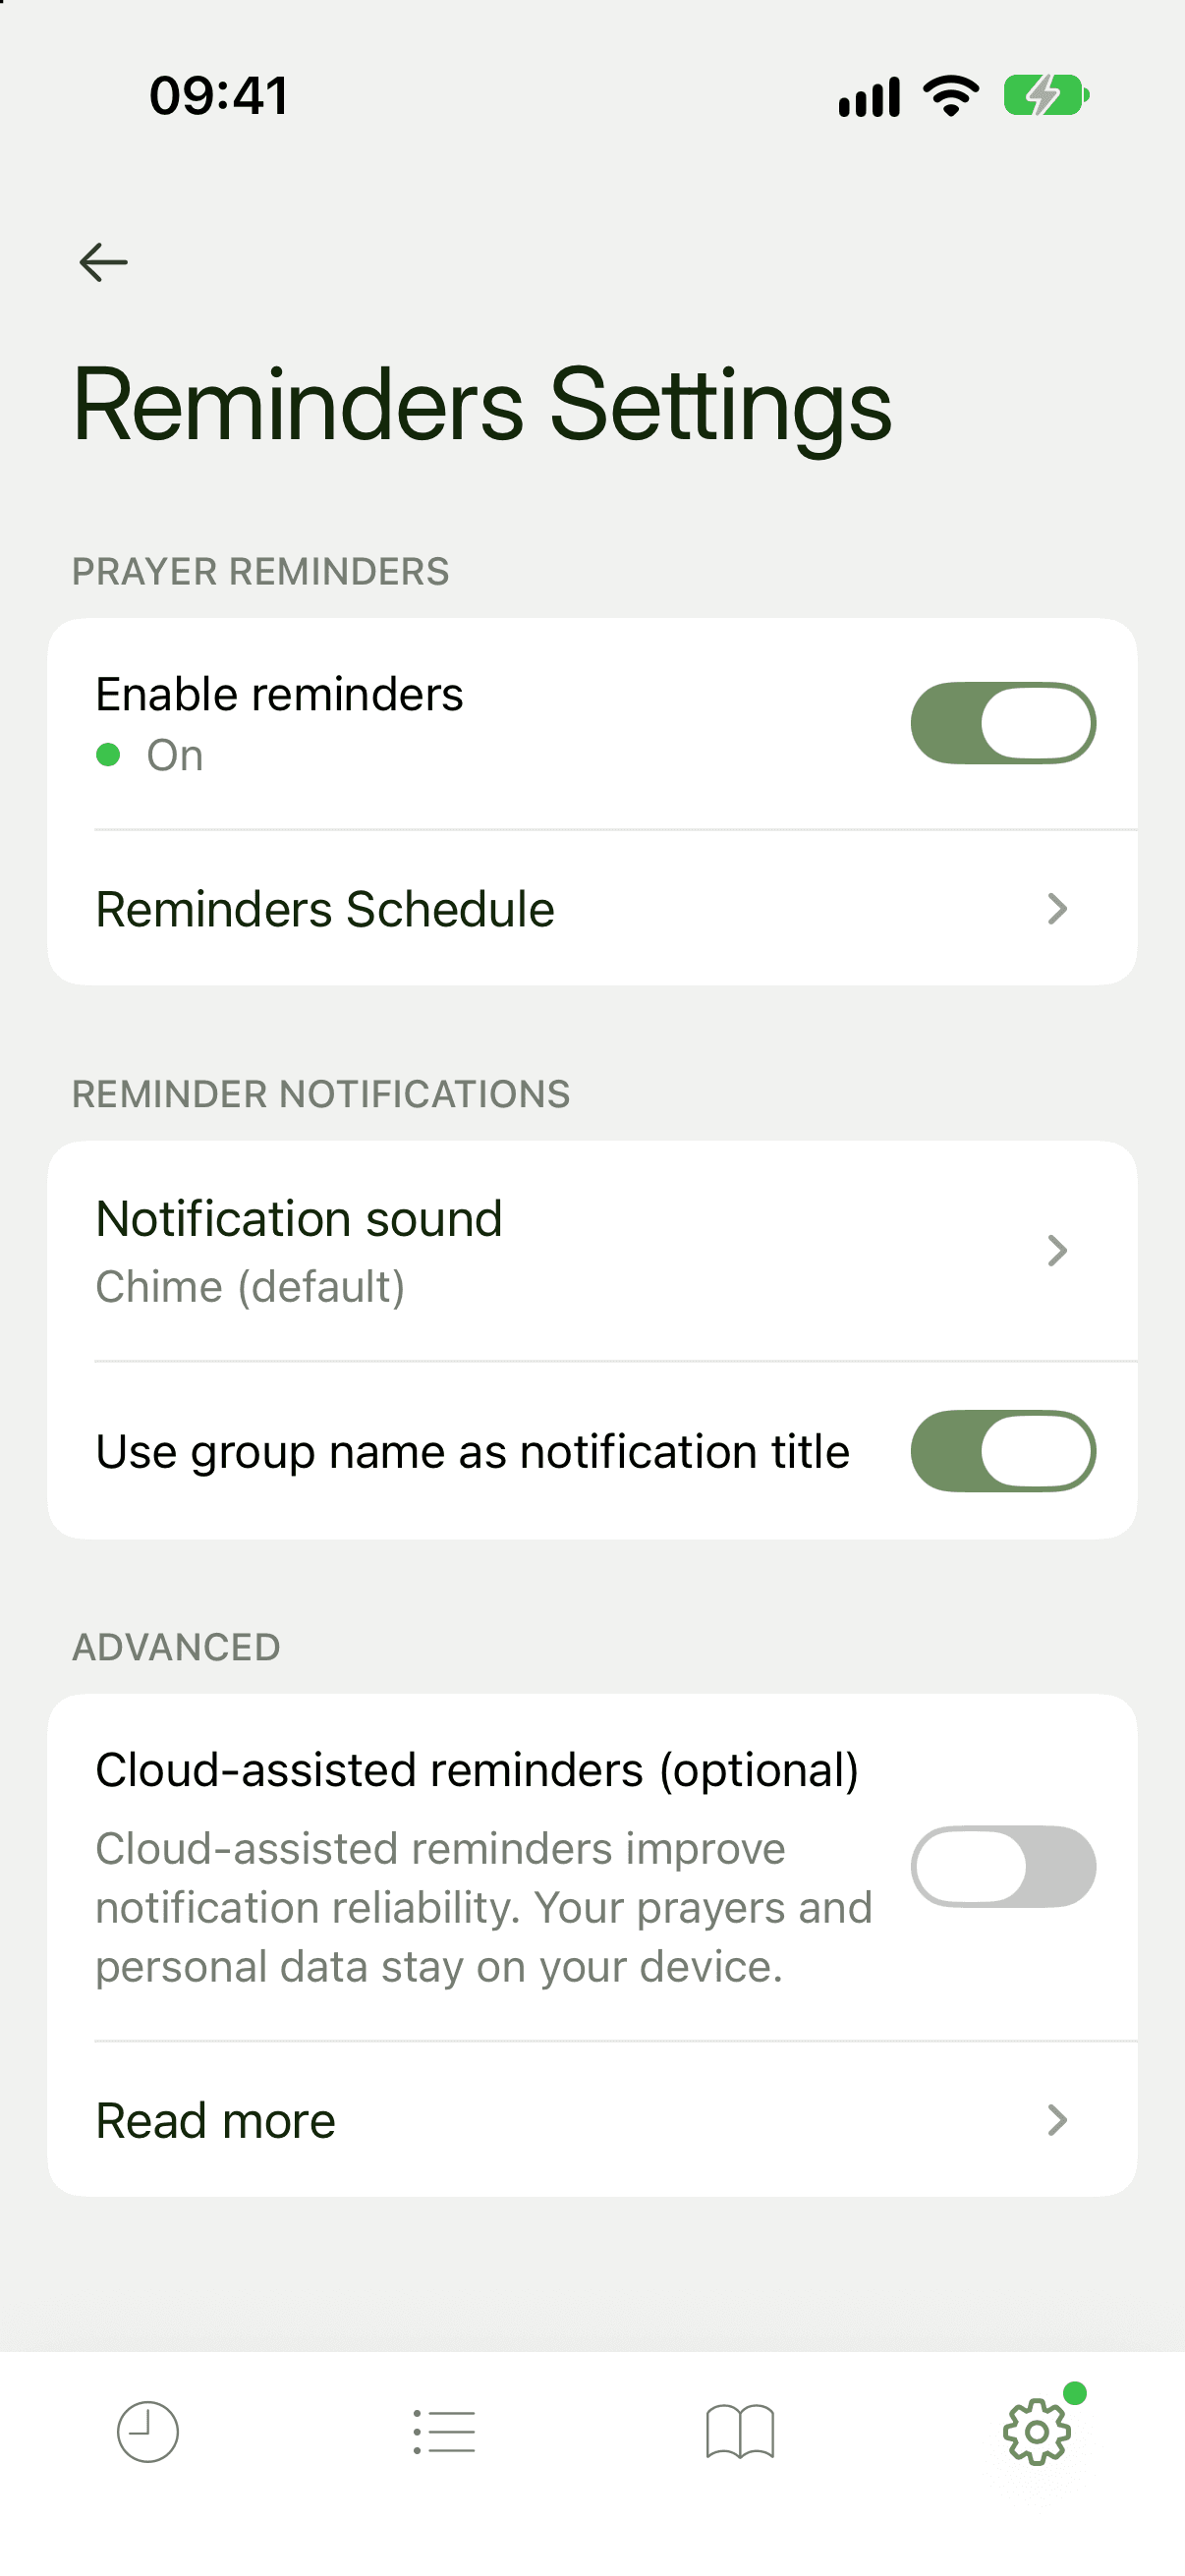
You can also go to the Settings tab and tap Reminders Settings. Next to Enable reminders you should see On.
By default you get 7 reminders a day between 9:00 and 22:00. To change that, see Reminders.
What do the four tabs do?
- Reminders shows the reminders you have received today, with an Amen button on each, and a verse of the day at the top.
- Prayers is your list, split into In progress, Answered and Archived.
- Read opens the Bible. You can attach verses to your prayers from here.
- Settings holds reminder settings, Bible settings, backup, and ways to reach us.